
If you are craving a nostalgic treat that bursts with flavor and color, you are going to love this Fruity Pebbles Rice Krispie Treats Recipe. These vibrant, chewy delights take the classic marshmallow-rice cereal combo and elevate it with the fruity pop of Fruity Pebbles, creating a fun and irresistible snack that’s perfect for kids and adults alike. Whether it’s a party, a quick dessert, or just a cozy afternoon pick-me-up, this recipe is simple, fast, and guaranteed to bring smiles with every bite.
Ingredients You'll Need
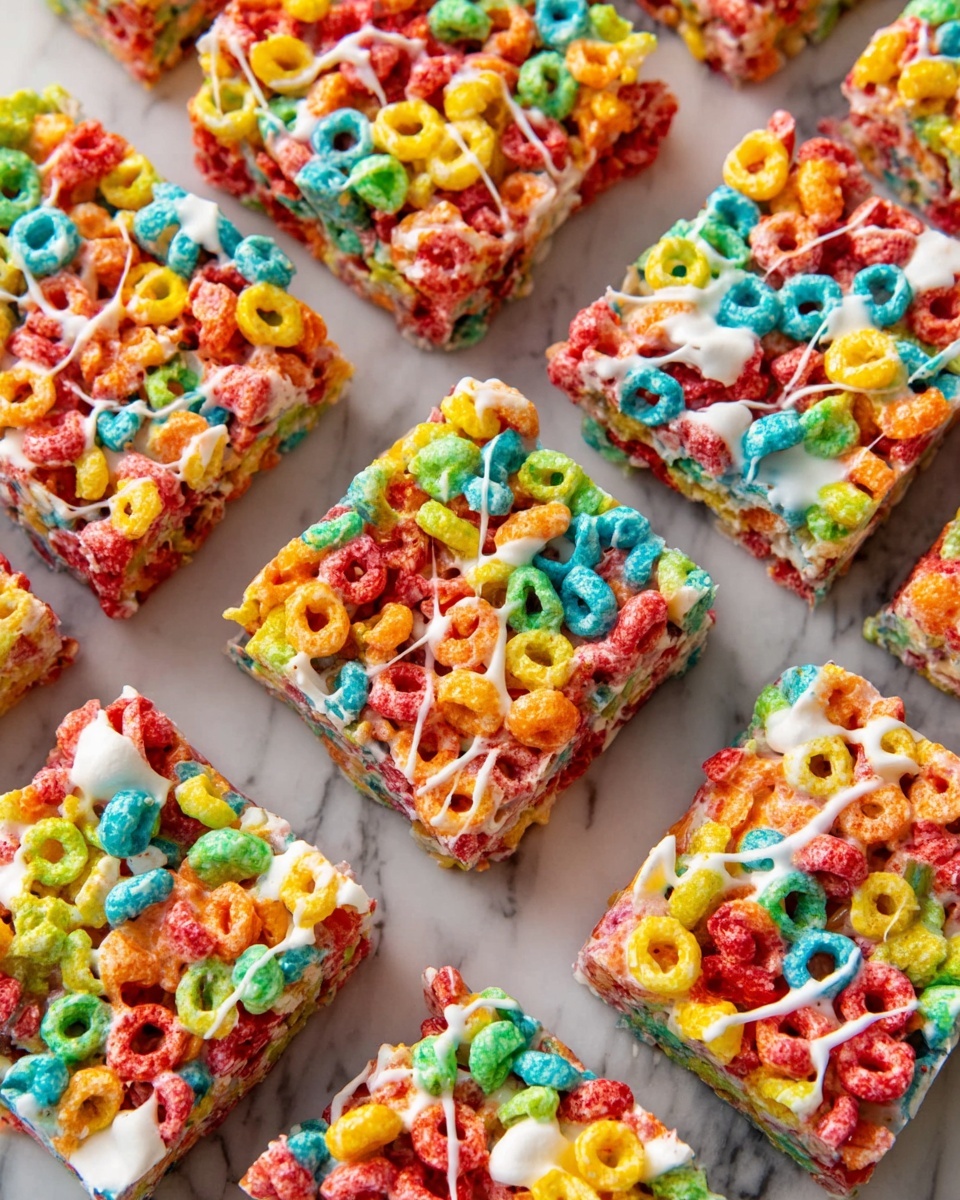
Getting your hands on just a few straightforward ingredients is all it takes to whip up these colorful Fruity Pebbles Rice Krispie Treats. Each ingredient plays a crucial role: the Fruity Pebbles add that fun crunch and fruity sweetness, butter enriches the flavor and texture, and mini marshmallows bring everything together with that classic gooey charm.
- 5 cups Fruity Pebble cereal: The star ingredient that adds amazing color and fruity flavor to every bite.
- ¼ cup salted butter: Melts smoothly to create a rich base that binds the treats while adding a subtle saltiness.
- 4 cups mini marshmallows: Provide that classic gooey texture and sweetness to hold the cereal together perfectly.
How to Make Fruity Pebbles Rice Krispie Treats Recipe
Step 1: Prepare the cereal and pan
Start by pouring 5 cups of fruity pebble cereal into a large mixing bowl and set it aside—this keeps everything ready when the marshmallow mix is perfect. Then, lightly grease an 8x8-inch pan with nonstick spray or butter so the treats won’t stick, making it effortless to lift and serve once set.
Step 2: Melt the butter and marshmallows
Over low heat, melt ¼ cup of salted butter in a medium saucepan. Once it’s completely melted, add 4 cups of mini marshmallows. Stir constantly and patiently until all the marshmallows fully melt and the mixture turns into a smooth, luscious glue—this usually takes about 3 to 5 minutes. This is where the magic happens, as the gooey marshmallows combine with butter to give your treats that chewy perfection.
Step 3: Mix marshmallow blend with cereal
Immediately pour the molten marshmallow mixture over the colorful Fruity Pebbles in your large bowl. Use a rubber spatula to gently fold and stir the cereal into the mix. The goal is to coat every piece of cereal evenly, so your treats have that consistent chewy and fruity bite in every square.
Step 4: Transfer and press into the pan
Transfer the sticky mixture evenly into the prepared 8x8-inch pan. Using a piece of wax or parchment paper, gently press the mixture into the pan—be careful not to press too hard, as you want to keep the treats light and chewy instead of dense. This step smooths everything out and gives you those perfect squares once cooled.
Step 5: Cool completely
Allow your Fruity Pebbles Rice Krispie Treats to cool completely at room temperature for 20 to 30 minutes. If you’re in a hurry, placing the pan in the refrigerator for about 5 minutes speeds up the process without compromising texture. Once cooled, they’re ready to cut and enjoy!
Step 6: Cut and serve
Once cool and set, cut the treats into 9 even squares directly in the pan. These colorful, fruity squares are ready to brighten anyone’s day whether it’s for a lunchbox, party, or just a sweet snack craving.
How to Serve Fruity Pebbles Rice Krispie Treats Recipe
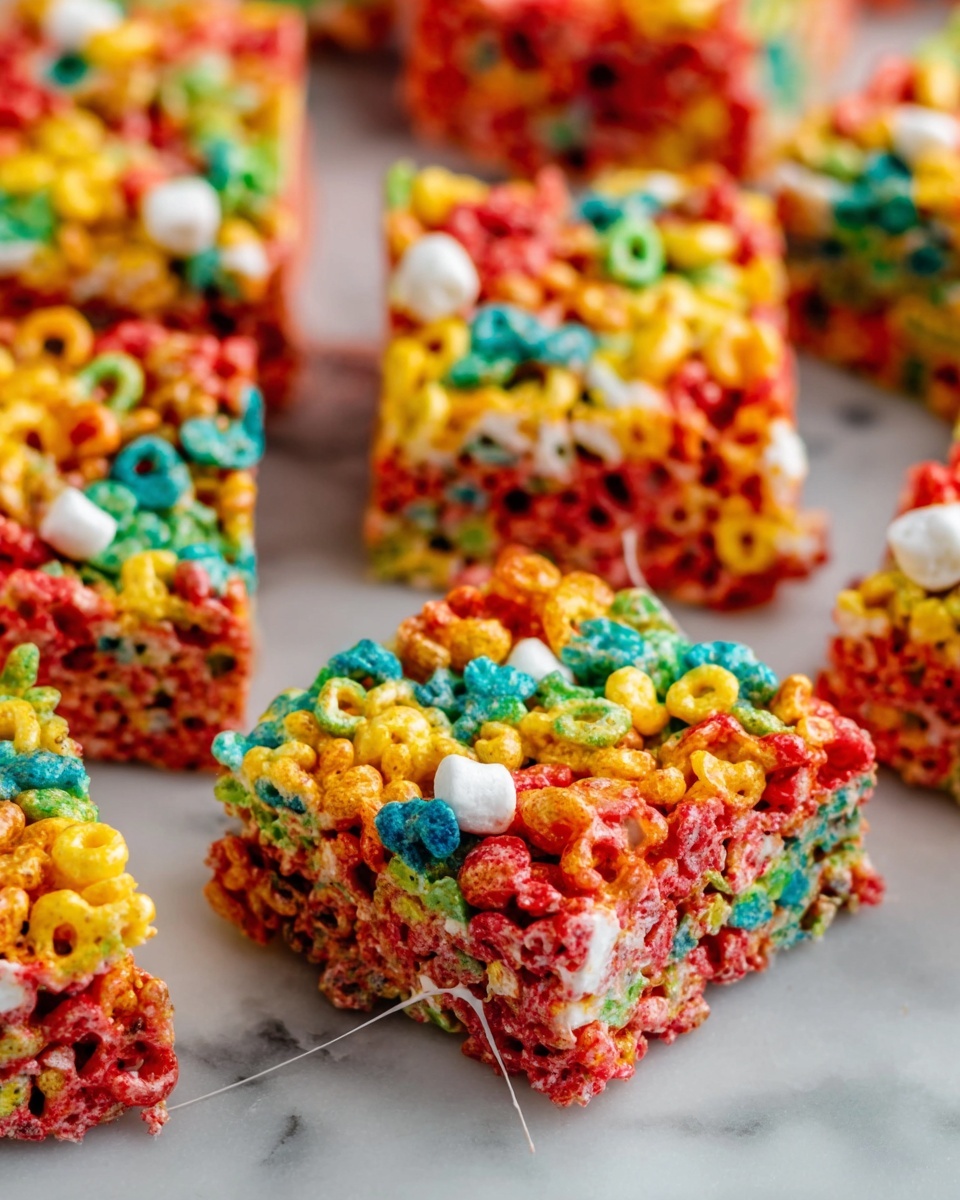
Garnishes
While these treats are delicious on their own, a light sprinkle of extra Fruity Pebbles on top before they cool adds an extra pop of color and texture for a fun finishing touch. You can also drizzle a little white chocolate over the top for an indulgent twist that pairs wonderfully with the fruity flavors.
Side Dishes
Fruity Pebbles Rice Krispie Treats make a fantastic companion for a scoop of vanilla ice cream or a fruity yogurt parfait. They add a perfect crunch and sweetness to balance creamier sides, ideal for parties or casual desserts after a meal.
Creative Ways to Present
For gatherings, try using cookie cutters to shape these treats into stars, hearts, or other fun forms. Wrapping individual squares in colorful cellophane with a ribbon also makes charming favors or gifts. Kids especially love the bright colors and unique shapes, turning snack time into a celebration.
Make Ahead and Storage
Storing Leftovers
Once cooled, store your Fruity Pebbles Rice Krispie Treats in an airtight container at room temperature. They'll stay fresh and chewy for up to 3 days, perfect if you want to prepare in advance or save some for later snacking.
Freezing
You can freeze leftover treats by wrapping each square tightly in plastic wrap and placing them in a freezer-safe bag. When wrapped well, they maintain their flavor and texture for up to a month. Just thaw at room temperature before serving.
Reheating
Reheating isn’t generally necessary since these treats are best enjoyed at room temperature, but if you want to soften them slightly, a few seconds in the microwave (about 10 to 15 seconds) will bring back that gooey texture without melting them completely.
FAQs
Can I use regular marshmallows instead of mini marshmallows?
Absolutely! If you only have regular marshmallows, just cut them into smaller pieces so they melt evenly and quickly, ensuring the texture stays smooth and consistent.
What can I substitute for Fruity Pebbles if I can’t find it?
If Fruity Pebbles aren’t available, any fruity rice cereal will work similarly, though the vibrant colors and unique fruity flavor are most authentic with Fruity Pebbles.
Can I add mix-ins like nuts or chocolate chips?
Yes, feel free to get creative! Adding a handful of mini chocolate chips or chopped nuts can give a little extra crunch or sweetness, but be cautious not to overwhelm the bright fruity charm of the original recipe.
How do I keep the treats from becoming too hard?
Pressing the mixture gently into the pan and avoiding overcooking the marshmallow mixture keeps these treats delightfully light and chewy, not rock hard.
Can I make these treats gluten-free?
Fruity Pebbles are typically gluten-free, but always check the packaging to be sure. Using gluten-free butter and marshmallows will keep this recipe safe for gluten-sensitive eaters.
Final Thoughts
There is something truly special about these Fruity Pebbles Rice Krispie Treats Recipe that brings back fond memories while also delivering a colorful and delicious snack everyone can enjoy. They are quick to make, a joy to eat, and brighten any occasion with their fun fruity crunch. I encourage you to try this recipe, have fun with it, and share the sweet joy with your family and friends.
Print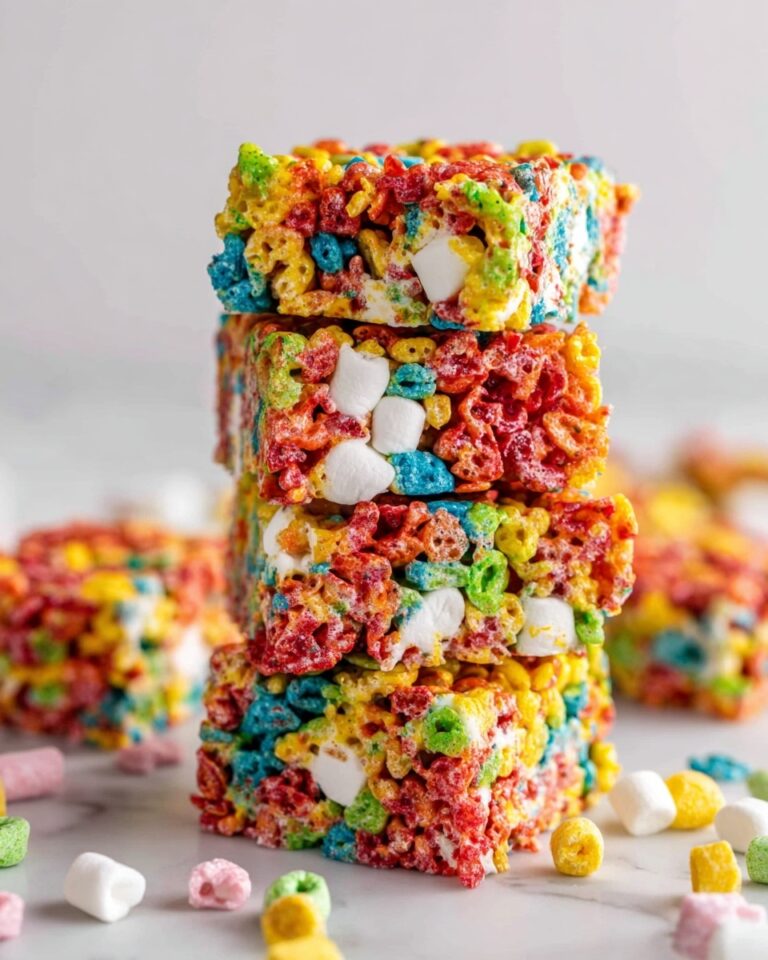
Fruity Pebbles Rice Krispie Treats Recipe
Fruity Pebbles Rice Krispie Treats combine the colorful crunch of Fruity Pebble cereal with sweet, gooey marshmallows and butter, creating a delightful and nostalgic no-bake dessert that’s perfect for parties, snacks, or anytime indulgence.
- Total Time: 30 minutes
- Yield: 9 servings
Ingredients
Ingredients
- 5 cups Fruity Pebble cereal
- ¼ cup salted butter
- 4 cups mini marshmallows
Instructions
- Prepare the cereal and pan: Pour 5 cups of Fruity Pebble cereal into a large mixing bowl and set aside. Lightly grease an 8x8-inch pan using nonstick spray or butter to ensure the treats don’t stick.
- Melt butter and marshmallows: In a medium saucepan over low heat, melt ¼ cup salted butter. Once melted, add 4 cups of mini marshmallows. Stir constantly until the marshmallows are fully melted and the mixture becomes smooth, which should take about 3–5 minutes.
- Combine marshmallow mixture with cereal: Quickly pour the melted marshmallow mixture over the Fruity Pebble cereal. Use a rubber spatula to stir gently until every piece of cereal is evenly coated with the marshmallow mixture.
- Transfer and press the mixture: Transfer the coated cereal mixture into the prepared 8x8-inch pan. Using a piece of wax or parchment paper, press the mixture evenly into the pan. Be careful not to press too hard to keep the treats light and chewy.
- Cool the treats: Allow the treats to cool completely at room temperature for about 20–30 minutes. For faster cooling, you can place the pan in the refrigerator for about 5 minutes.
- Cut and serve: Once fully cooled and set, cut the treats into 9 equal squares and serve immediately for a colorful, chewy snack.
Notes
- For easier cleanup and to prevent sticking, use a rubber spatula and wax or parchment paper when pressing the treats into the pan.
- Do not over-press the mixture to maintain a light, chewy texture rather than a dense bar.
- If mini marshmallows are not available, regular marshmallows can be chopped into smaller pieces before melting.
- Store leftover treats in an airtight container at room temperature for up to 3 days to maintain freshness.
- To add extra flavor, consider stirring in a teaspoon of vanilla extract when melting the marshmallows.
- Prep Time: 10 minutes
- Cook Time: 5 minutes
- Category: Dessert
- Method: Stovetop
- Cuisine: American



Leave a Reply